• Hi Guest!

    We are extremely excited to announce the release of our first Beta1.1 and the first release of our Public AddonKit!
    To participate in the Beta, a subscription to the Entertainer or Creator Tier is required. For access to the Public AddonKit you must be a Creator tier member. Once subscribed, download instructions can be found here.

    Click here for information and guides regarding the VaM2 beta. Join our Discord server for more announcements and community discussion about VaM2.
  • Hi Guest!

    VaM2 Resource Categories have now been added to the Hub! For information on posting VaM2 resources and details about VaM2 related changes to our Community Forums, please see our official announcement here.
texturing workflow/techniques I use for my clothing sets | Videos

Guides texturing workflow/techniques I use for my clothing sets | Videos

Re-visions_VAM

Hobbyist VAM Creator
Featured Contributor
Joined
Jan 8, 2023
Messages
126
Reactions
2,458
Re-visions_VAM submitted a new resource:

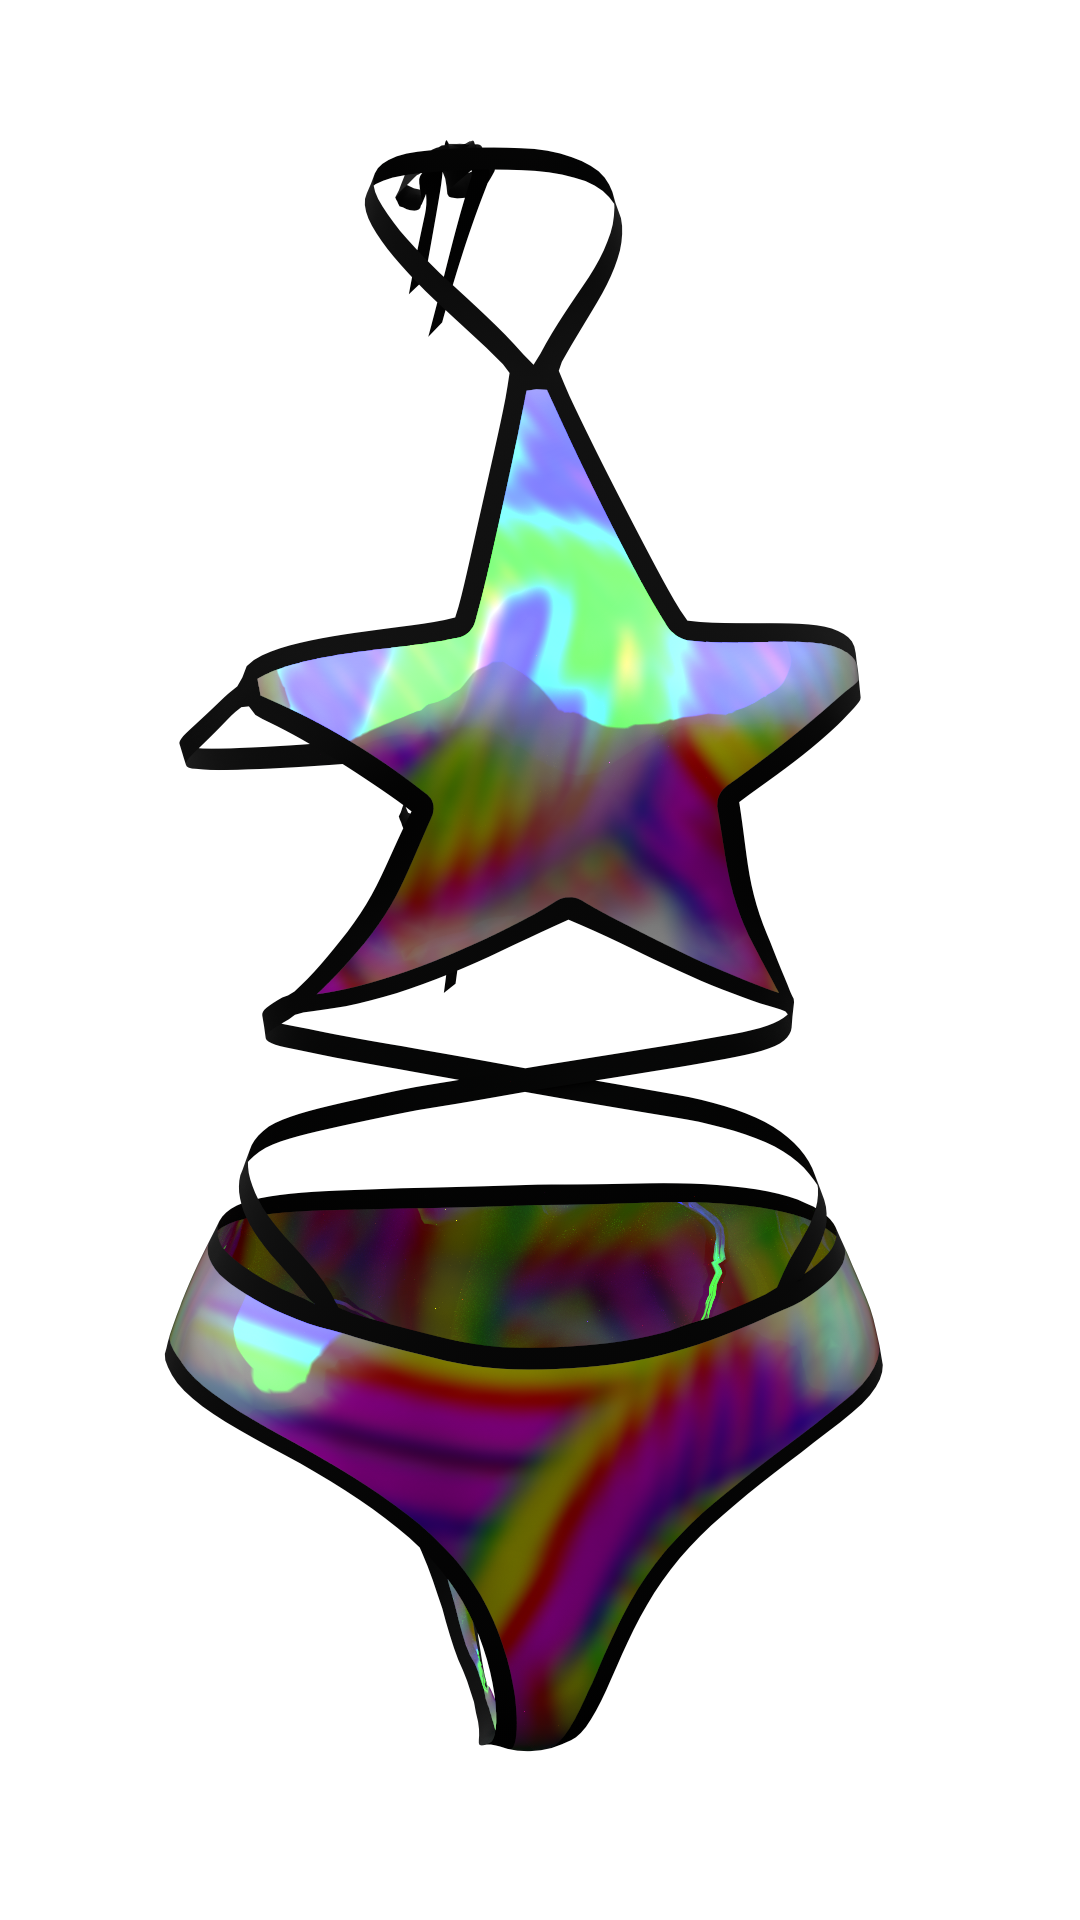
My Texturing Workflow For My Purple Mage Saber Set | Video - Video to learn my texturing workflow/techniques

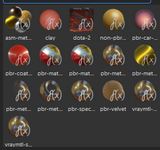
For this, you must have access to adobe substance painter

This includes 2 videos, one upcoming purple mage saber, and one Assassin Saber 2


To increase your overall quality of your clothing and skill,
I will make more video posts on my future clothing.

Soon I will include my blender workflow~!

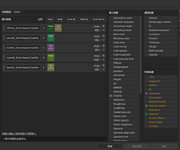
It is important to use these settings if you wish to follow my workflow without any hiccups
Do not select any template.
leave it as (select...

Read more about this resource...
 
Excellent, thank you very much!
I just got into SP and did some skin edits.
How's the process to bring over a clothing item from VAM to SP?
 
Maybe this can help others, these are my Substance painter export settings, the names are identified (Duffuse, spectacular, glossines, opacity and Normal maps for OpenGl) so they won't have weird names when exporting.


You need to unzip in the following path

\Documents\Adobe\Adobe Substance 3D Painter\assets\export-presets

1724867378578.png

You should change the project settings to Normal Maps for OpenGL.
1724867417898.png
 
Excellent, thank you very much!
I just got into SP and did some skin edits.
How's the process to bring over a clothing item from VAM to SP?
select no template when you start a new project, and when you are done, export via VRay Next Specular Glossniess (my reasons bellow for this workflow)
Base Color Replaces Diffuse
Height replaces spec OR you can use https://cpetry.github.io/NormalMap-Online/ & input your normal map and export spec from that
Roughness replaces Glossiness
normal maps are just normal maps.


I Export using (vray next specular glossiness) to fix the normal maps for vam.
(I've always had a problem with my normal maps flipping on one side. I think this is due to me mirroring my clothing in blender, and the normal maps messing up in z or y axis or something. It's very confusing to explain the complexity of normal maps but exporting using (vray next specular glossiness) fixes the problems I have in VAM with normal maps flipping on one side.

It doesn't matter if you use glossiness or roughness, as they are the same looking in VAM when you do custom roughness maps like I do. This goes for the Diffuse, Spectacular/ ---> base layer, height as well.

the reason why I (don't select any template) is so I can have base, roughness, height & normal as an easy base set-up. selecting no templates allows me to baking lights on the base color map.
when I'm done texturing, I export via VRay Next Specular Glossiness.
this export works best with vam 1 from my 1+ years of texturing process for vam 1)
 
Last edited:
select no template when you start a new project, and when you are done, export via VRay Next Specular Glossniess (my reasons bellow for this workflow)
Base Color Replaces Diffuse
Height replaces spec OR you can use https://cpetry.github.io/NormalMap-Online/ & input your normal map and export spec from that
Roughness replaces Glossiness
normal maps are just normal maps.


I Export using (vray next specular glossiness) to fix the normal maps for vam.
(I've always had a problem with my normal maps flipping on one side. I think this is due to me mirroring my clothing in blender, and the normal maps messing up in z or y axis or something. It's very confusing to explain the complexity of normal maps but exporting using (vray next specular glossiness) fixes the problems I have in VAM with normal maps flipping on one side.

It doesn't matter if you use glossiness or roughness, as they are the same looking in VAM when you do custom roughness maps like I do. This goes for the Diffuse, Spectacular/ ---> base layer, height as well.

the reason why I (don't select any template) is so I can have base, roughness, height & normal as an easy base set-up. selecting no templates allows me to baking lights on the base color map.
when I'm done texturing, I export via VRay Next Specular Glossiness.
this export works best with vam 1 from my 1+ years of texturing process for vam 1)
Wow thank you for explaining!
I’ll definitely have a look again
 
也许这可以帮助其他人,这些是我的 Substance 画家导出设置,名称已识别(Duffuse、spectacle、glossines、opacity 和 OpenGl 的法线贴图),因此导出时它们不会有奇怪的名称。


你需要解压到以下路径

\Documents\Adobe\Adobe Substance 3D Painter\assets\export-presets

View attachment 404180
您应该将项目设置更改为 OpenGL 的法线贴图。
View attachment 404181

Maybe this can help others, these are my Substance painter export settings, the names are identified (Duffuse, spectacular, glossines, opacity and Normal maps for OpenGl) so they won't have weird names when exporting.


You need to unzip in the following path

\Documents\Adobe\Adobe Substance 3D Painter\assets\export-presets

View attachment 404180
You should change the project settings to Normal Maps for OpenGL.
View attachment 404181

Hello, according to your template, which shader should be selected?
 

Attachments

  • 3.png
    3.png
    49.2 KB · Views: 0
I found that I could convert the texture.Converting PBR blending to PBR spec-gloss. Use this setting.
These files were designed for people who are just starting out in making clothes in Vam and in my workflow. I am not an expert, and of course there is room for improvement. Thank you for the suggestion.
My SP is an old version of Steam, and I can't find the PBR Blending option to check it.

Captura de pantalla 2025-08-20 135038.png

What I do recommend is that you start the project with PBR Spec-Gloss instead of Metallic-Roughness. With this, you have the option to color the Spectacular and can create different types of materials like this:
1724675582-jpg.403411

1.png

Render in SP

A while ago, I made some videos showing how to make a pair of clothes and paint them in SP, in case you're interested.
 
These files were designed for people who are just starting out in making clothes in Vam and in my workflow. I am not an expert, and of course there is room for improvement. Thank you for the suggestion.
My SP is an old version of Steam, and I can't find the PBR Blending option to check it.

View attachment 517950
What I do recommend is that you start the project with PBR Spec-Gloss instead of Metallic-Roughness. With this, you have the option to color the Spectacular and can create different types of materials like this:
1724675582-jpg.403411

1.png

Render in SP

A while ago, I made some videos showing how to make a pair of clothes and paint them in SP, in case you're interested.
Sorry, my explanation was a bit off. I'm using the pbr-metal-rough-with-alpha-blending shader because I found the PBR spec-gloss shader's alpha channel doesn't work。
You can't see the effect of op directly in the view
屏幕截图 2025-08-21 131040.png


I used this conversion template and simply set up the map channels I needed, so that I could paint the texture under the Metallic-Roughness workflow and finally convert it to the format required by VAM.
屏幕截图 2025-08-21 130553.png

The current video tutorials all follow the Metallic-Roughness method. For beginners, using a conversion template will help avoid mixing up the materials. This is also the result of my discussions and research with others.
 
Last edited:
Back
Top Bottom