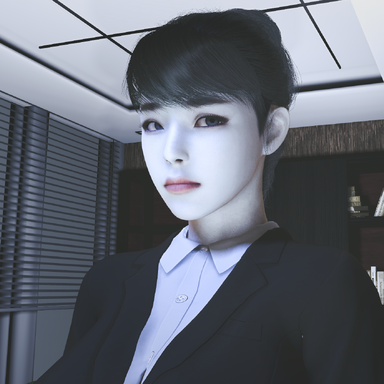
Create two CUA atoms. Attach the camera prefab to one, and the screen prefab to the other.
In the UI, select the CUA that contains the camera prefab from the list.
When using PiP mode, you can position the screen wherever you like.
You can also adjust the resolution and frame rate, allowing you to optimize the settings based on your PC's performance.
It also provides effects such as noise, night vision, and motion blur.
Blacklist, Whitelist
Using Layer 18 and Layer 19, you can choose exactly what you want to render on the screen. Simply configure the list and select the desired mode in the PiP UI.
Assets, hair, skin, and clothing are all supported.
Lights also support layer-based filtering.
You need to load the CS file onto the Light atom.
This allows the light to be assigned to Layer 18 or Layer 19, so it will only illuminate objects on the specified layer.
The screen can be used as a HUD that follows the user's view or placed directly in the scene like a physical monitor. The plugin also provides camera controls, visibility filtering, stabilization, visual effects, and customizable button events.
The color, intensity, range, and shadows of layer-specific lights are configured through VaM's standard Light UI.
AI assistance was used during development.
In the UI, select the CUA that contains the camera prefab from the list.
When using PiP mode, you can position the screen wherever you like.
You can also adjust the resolution and frame rate, allowing you to optimize the settings based on your PC's performance.
It also provides effects such as noise, night vision, and motion blur.
Blacklist, Whitelist
Using Layer 18 and Layer 19, you can choose exactly what you want to render on the screen. Simply configure the list and select the desired mode in the PiP UI.
Assets, hair, skin, and clothing are all supported.
Lights also support layer-based filtering.
You need to load the CS file onto the Light atom.
This allows the light to be assigned to Layer 18 or Layer 19, so it will only illuminate objects on the specified layer.
1. Plugin Overview
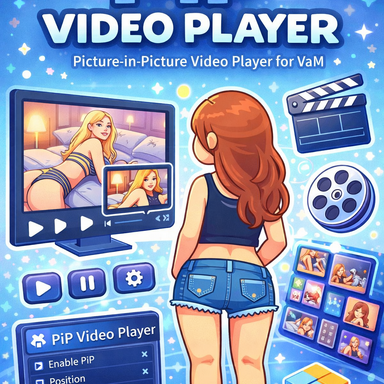
This is a VaM plugin that displays the view from a separate in-scene camera on a secondary PiP screen.The screen can be used as a HUD that follows the user's view or placed directly in the scene like a physical monitor. The plugin also provides camera controls, visibility filtering, stabilization, visual effects, and customizable button events.
2. Key Features
- Screen Placement: Adjust HUD distance, position, size, aspect ratio, portrait mode, and horizontal mirroring.
- World Screen: Configure the screen's position and size within the scene, including occlusion behavior.
- Camera Controls: Adjust field of view, near/far clipping range, and camera shake.
- Video Stabilization: Reduce positional and rotational shake, with additional correction for large movements.
- Visual Effects: Noise, scanlines, night vision colors, blur, sharpening, and temporal video blending.
- Visibility Filtering: Use a blacklist to exclude specific objects, or a whitelist to render only selected objects.
- Independent Control Buttons: PiP On/Off, three custom triggers, customizable button images, and event settings.
- Performance Controls: Adjust render resolution and PiP update FPS.
3. Included Plugins
| File | Purpose |
|---|---|
| PiP_HUD_FromRT_Attach.cslist | Main plugin for managing the PiP screen, camera, and visual effects |
| Pip_Blacklist_Layer18_Rebuild.cslist | Manages assets and character elements to exclude from the PiP view |
| Pip_Whitelist_Layer19.cslist | Manages assets and character elements that should appear in the PiP view |
| Layer_Light_1819.cslist | Restricts a VaM Light Atom to illuminating Layer 18 or Layer 19 |
4. Main UI Tabs
| Tab | Main Settings |
|---|---|
| Main | Camera selection, screen visibility, resolution/FPS, filter mode, and status |
| Camera | Field of view, clipping range, and camera shake |
| Stab | Position and rotation stabilization |
| PIP | HUD position, distance, size, and aspect ratio |
| World | In-scene screen placement |
| Noise | Noise and scanline effects |
| Night | Night vision effects and colors |
| Motion | Motion blur and focus mask |
| ETC | Auto-connect, render layers, sharpening, and other advanced settings |
| Ctrl | Independent buttons, custom images, and trigger events |
5. Basic Setup
- Prepare the screen and camera assets, then load the main plugin.
- Go to Main → Camera Atom and select the Camera Atom you want to use.
- Enable HUD Visible / PiP Screen Visible and confirm that the camera output is displayed correctly.
- Use Follow HUD and the PIP / World settings to configure how and where the screen is displayed.
- Add visibility filtering and visual effects as needed.
- Save the scene to preserve your settings.
6. Visibility Filtering
- Blacklist - Layer 18: Objects added to the list are excluded from the PiP camera.
- Whitelist - Layer 19: Only objects added to the list are displayed by the PiP camera.
- The two modes are not intended to be used simultaneously.
- The background used with filtering modes can be adjusted through PiP Skybox.
- When removing registered objects, use restoration options such as Remove Selected + Restore to return them to their original state.
7. Performance & Troubleshooting
Because PiP requires an additional render of the scene, higher resolutions and update rates will increase the performance cost. It is recommended to start at 512 resolution and increase it only as needed.- No image on the screen: Check the selected camera, visibility toggles, and connection status.
- Some objects are missing: Check the blacklist/whitelist settings and render layers.
- Image appears blurry or leaves trails: Check the blur and Temporal settings.
- Performance is too low: Reduce the resolution and PiP FPS, and disable unnecessary effects.
- Unable to identify the cause of an issue: Use Dump PiP Diagnostics to Log to output diagnostic information.
AI assistance was used during development.