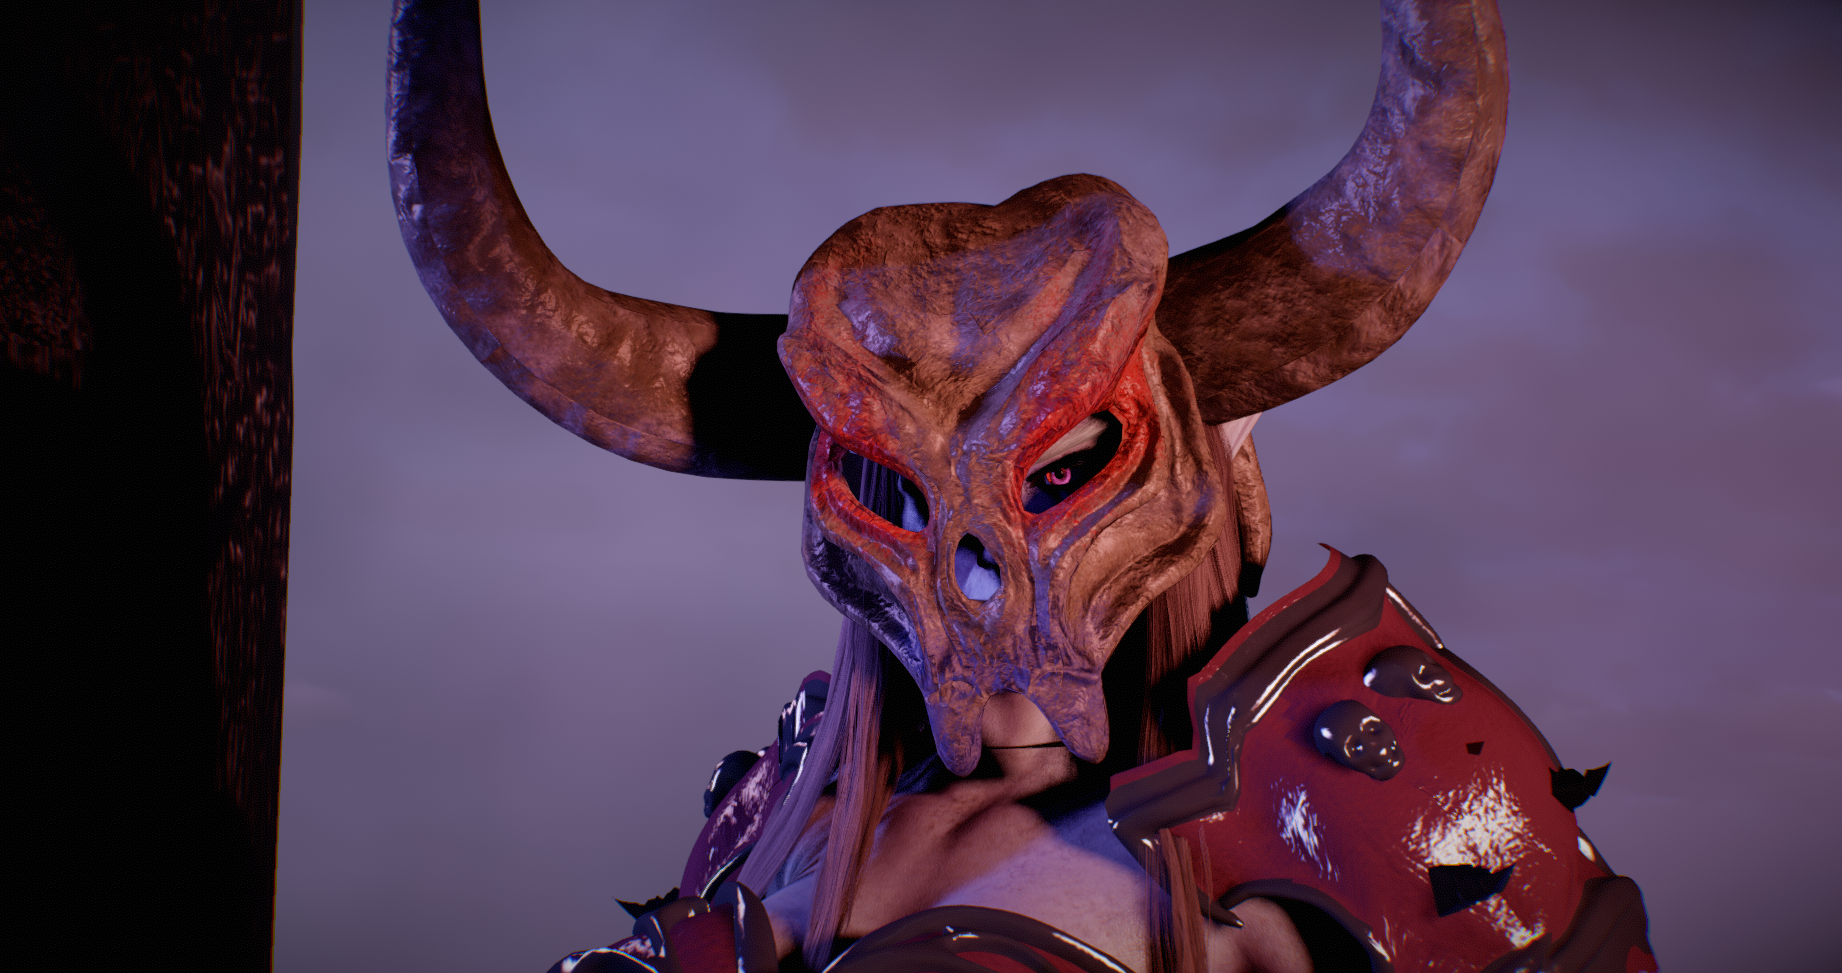
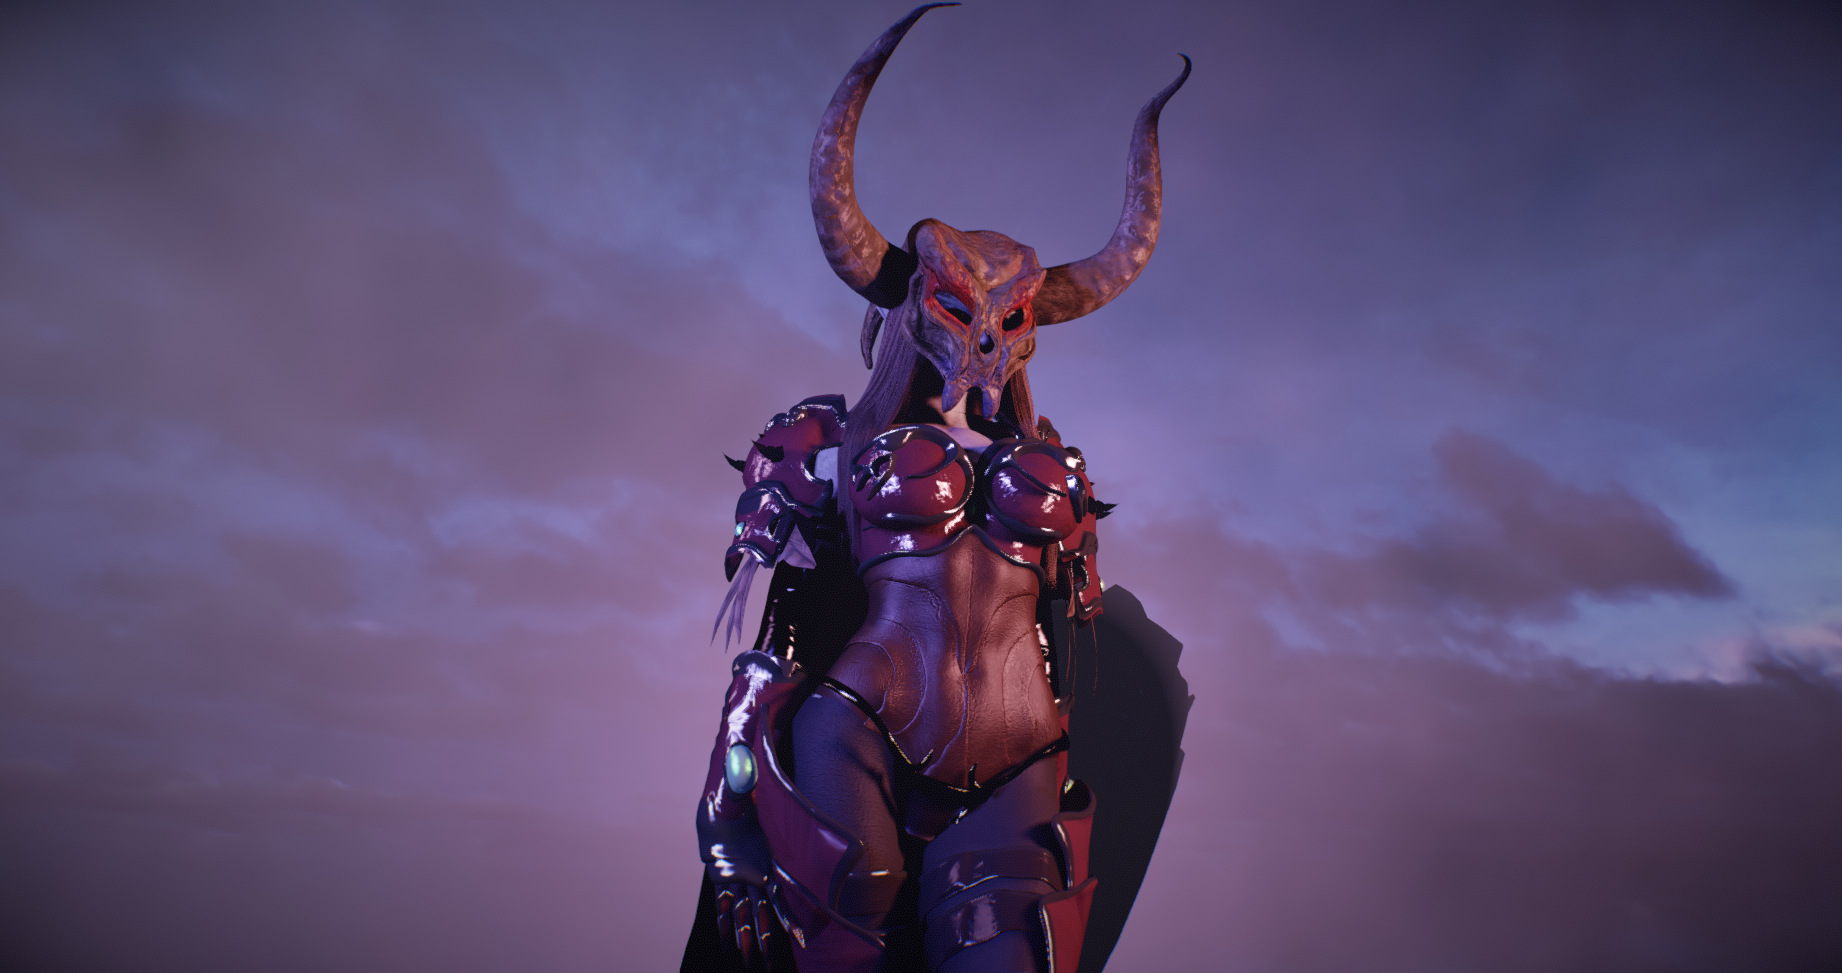
Making A Hat Or Helmet From Scratch
https://hub.virtamate.com/resources/helm-example.44692/

This is a guide to make a hat/helmet from scratch. The texturing aspect will be left to you. It's recommended you have at least a basic knowledge of Blender. Try to give as much information as possible without making it convoluted. The videos are sped up X4 for the sake of size.
You will need
1. Daz set up with G2 model (see guide)
2. Blender (free)
3. Mopedlampe guide for placement
Recommended - If you get confused by something key in the search for a closer explanation
https://docs.blender.org/manual/en/latest/
The first step is to import over the default G2 base from DAZ. Secondly, I'd recommend you get some reference from Google, no need to exactly copy ref, you can merely use it as a visual guide.
Important - From the onset you want your sculpting mirrored. If you don't do this, you will only be sculpting from one side.

Video 1
First, go into layout mode, select the model, hit tab. > From the top left, select Vert/line/face with shift to select all > Then on the right side, select "xray"
This will make your selection from both the front and back sides. Go to a frontal view of your figure and hit "C".
You're selection tool will now be a selection tool, highlight and drag across the scalp area like the video. This will be the base scalp of your helmet.
Once you have what you want selected, try to make sure it's a clean edge select if possible (not required), then hit Shift+D, this is the shortcut to duplicate. You have copied your selection. It is, however still part of the model, after doing this, while still highlighted, hit "P", and select "separate". You now have the scalp area of the model as a completely separate object.
Now it is separate, select it as the separate object. As the video shows, go to the right side where all the many G2 textures are still applied, and delete them all. Create a new one. It is now both a separate object, with it's own separate material.
Now we have a base form we can begin to start sculpting. Making sure your scalp it highlighted, jump to "sculpt mode". There are many brushes you can use, but for the sake of simplicity I recommend the "grab", as you are merely pulling around the mesh shape. Do not too crazy with it. Make sure to also spam the "smooth tool", if you're edges are rough this will smooth them out as well. You can use F and the middle mouse to change the power and size or the sliders top right.
Once you've shaped the head to whatever you like, optionally, as shown in the video, you can use the Knife tool "K", As the video shows this is like a line cool over the surface that slices out the surface. Once you have "connected lines" hit the return key. Again, hit "C" and highlight the faces within your cut and delete as necessary. In my case it's to create eyes and a nose.
Finally, you can highlight edges using the far left "edge select", highlight when you want and either press "E" to extrude (create a new face) or "G" to merely pull the face as you see fit. I'd recommend you use a fixed axis. (X , Y , Z) shortcut keys.
Video 2
The basic form stuff is now down. It is a matter of refining. Here, and I think it's very important. I would recommend you once again duplicate your cap area (Shift+D) then hit "M" to create a sub-folder, name it whatever and place both in here. With your duplicate cap hit the "H" key to hide. It is a earlier state in case you mess up. I'd also highly recommend saving manually your blender file every 10 min or so.
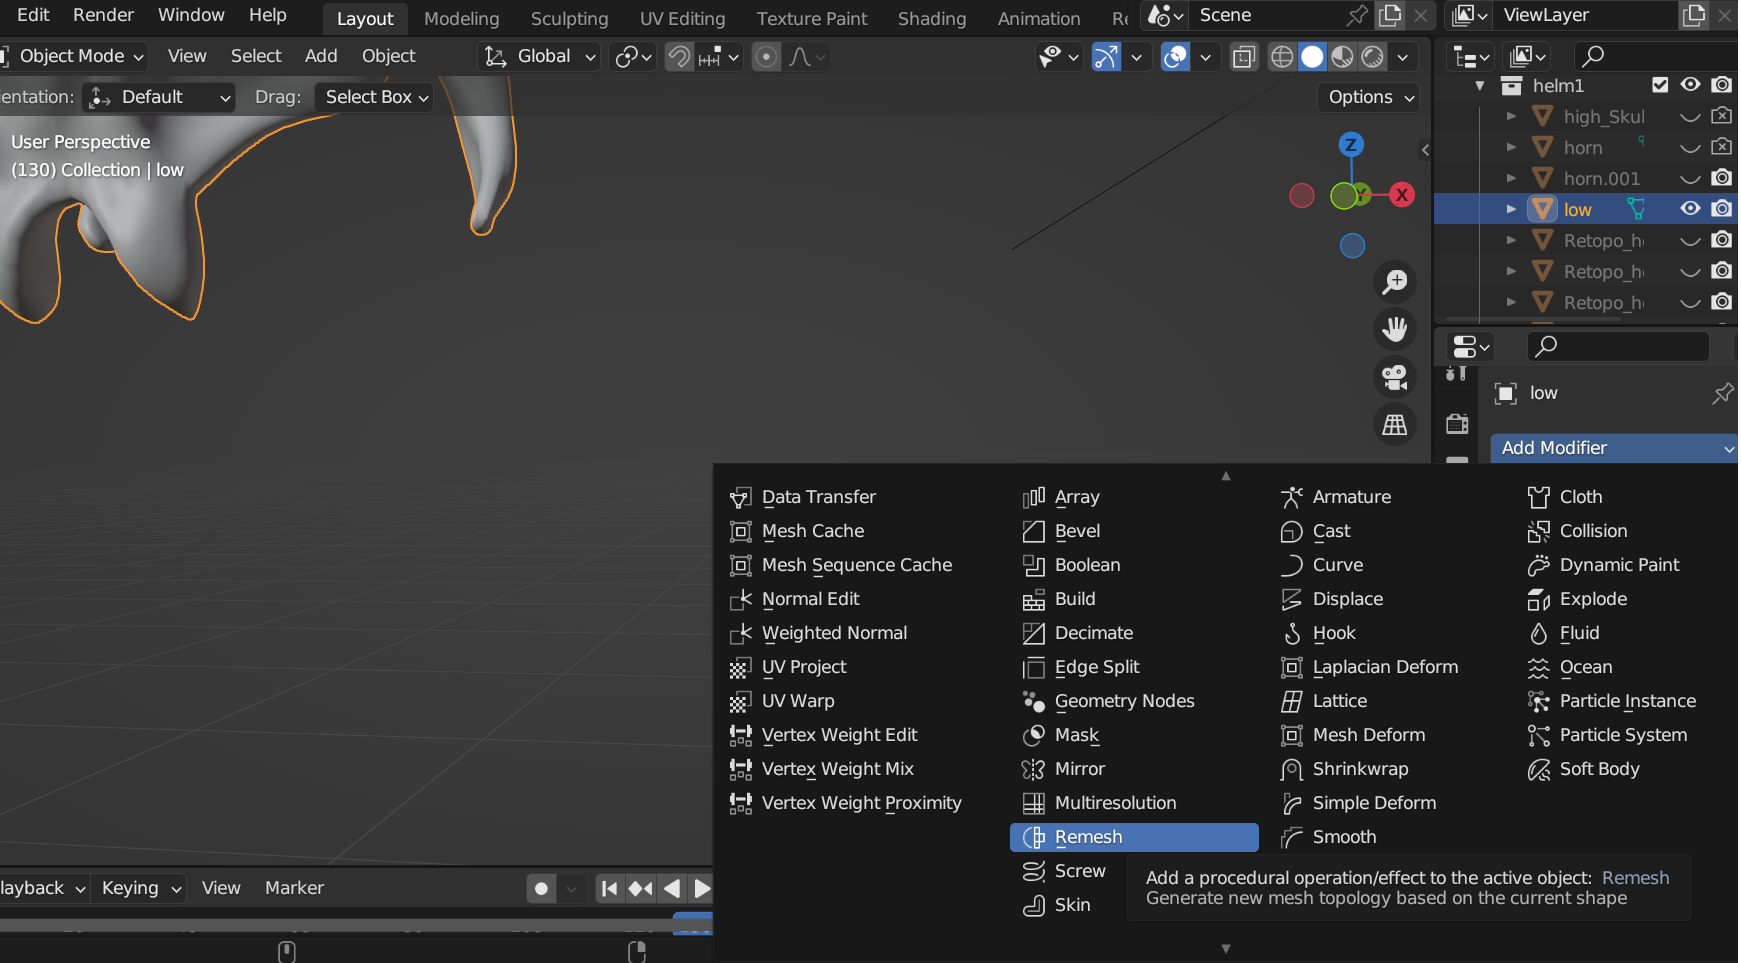
The main thing happening in the second video is refinement. First though, the scalp was retopologized, i'm using a third party addon, but one is build into Blender. This will make your scalp "higher poly". You can also use other options like multiresolution. Or, if you like, leave it as is. completely up to you.
The image here will show you where to find these, as well as other tools used in the video and ones that will be used such as "mirror" which I'd recommend you regularly apply "mirror" while sculpting in general.

It's very important as well not to overdo it and make it's poly level too high otherwise it will just turn into a mess when you import it to VAM. VAM has a recommended count and it will show you while processing Yellow (not recommended) and RED (no no)
The majority of this video is refinement. This includes using tools like "G" to move the entire scalp area and "R" to tilt it. Alongside "S" scaling to effectively stretch it. You can combine scaling (alongside other shortcuts) with the Axis shortcut keys, it will show line of the axis you are pulling as shown in the video.
Primarily the grab and draw sharp brushes are being used in sculpt mode, but this aspect is preference, you can use whatever tools you like.
Finally, I'd recommend upon selection of your hat/helmet in "layout", right clicking your item and selecting "auto-smooth" otherwise you will get incredibly sharp edges. You can also manually go over the model in sculpt mode with the smooth brush.
Video 3
Next comes the horns. Interestingly with Blender their is typically multiple ways to do something. But, for simplicity sake, we will use the curve tool. This isn't a mesh, but it will become one as shown in the video video via "convert".
So let's break down how create the horns.
In Layout mode Go to Add > Curve > Bezier
Doing this will produce a yellow line, which we will manipulate. Hit tab to go into edit mode while highlighted. It has points we can pull and manipulate, like a spaghetti string. Pull and edge this into whatever shape you like, preferably something horn like.
(Added note- For the filling of the end of the horn I selected the entire edge and hit the hot-key "F", this is "fill", it creates a face over open holes)
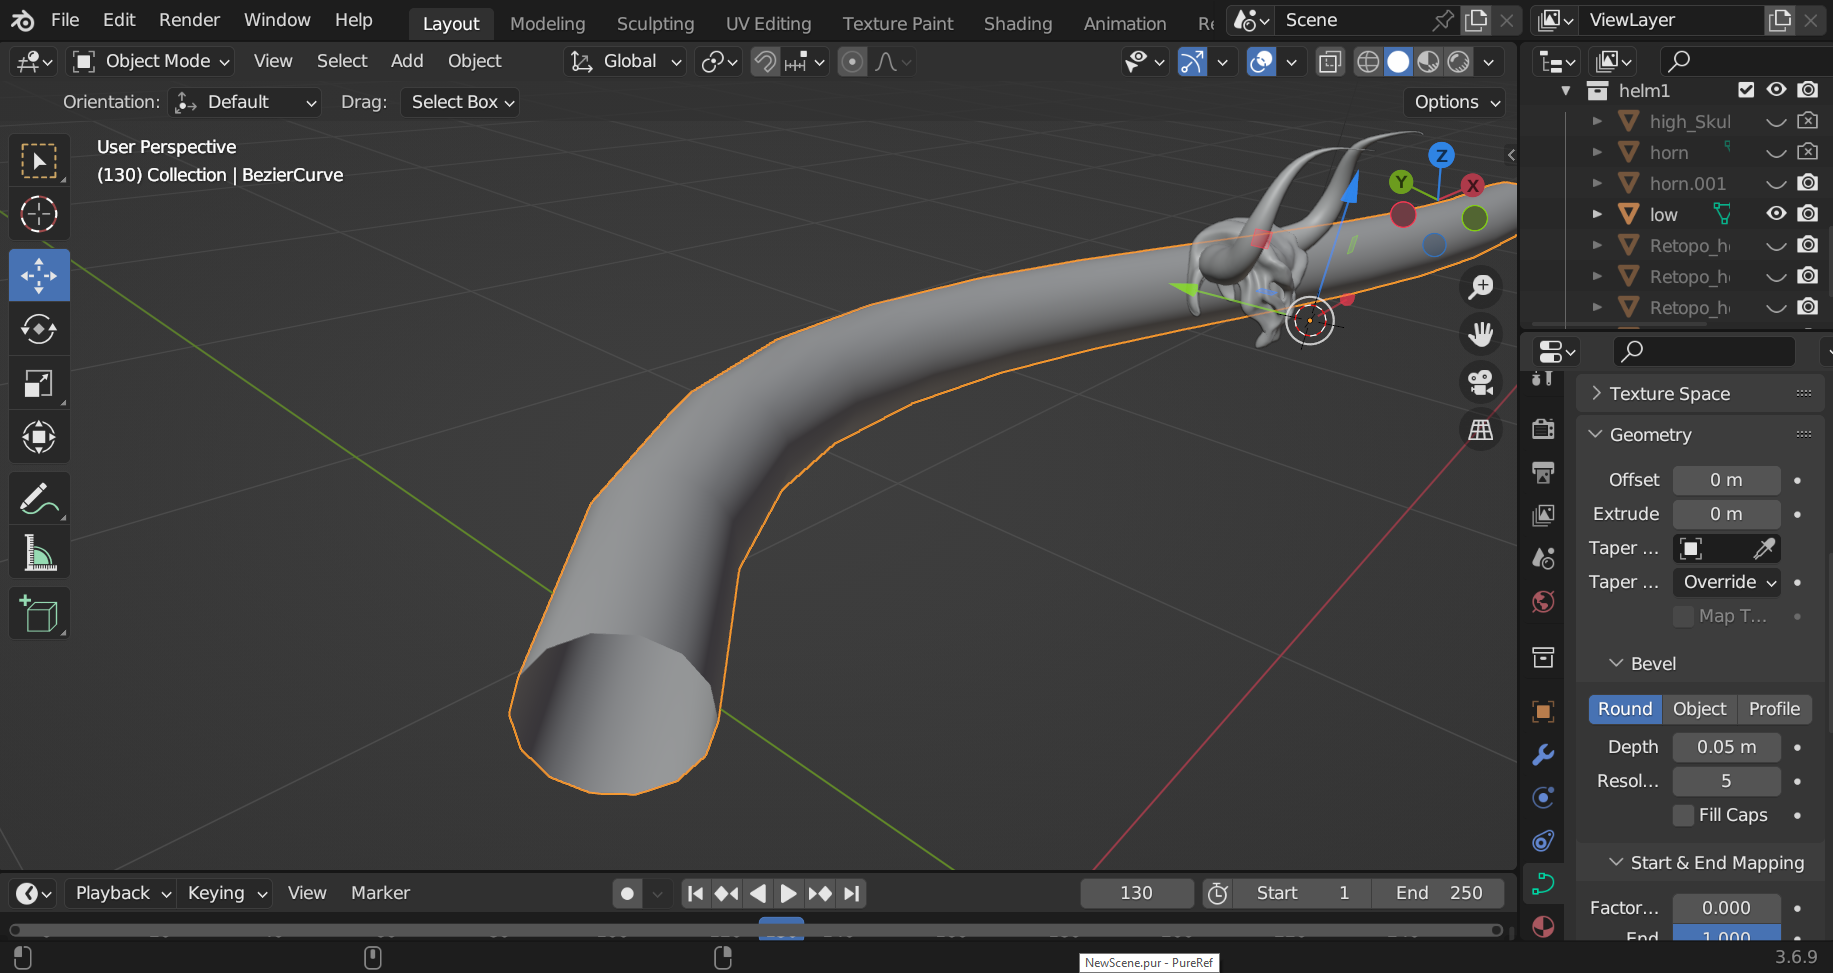
Once you're happy with it. Go to the right column area (shown in the video) at "data object properties" (the green icon), in this menu scroll down to "bevel" and and within this area "round", and with the two values "resolution" and "depth" slide with your mouse or add a number. The line now has depth, making it a tube.

Once you are happy, with the curve highlighted (yellow outline), go up to object > convert > mesh
Now it is now longer a curve, but a mesh, like the cap. The horn, separated. Selected it and move it to where you want it's placement on the head and edit as you please, I'd recommend using the "inflate" tool here. Holding shift has a negative effect on all tools e.g. deflate
Once you are happy with it, go to modifiers > mirror and select the scalp area as it's pairing. This will create "2" horns on either side. I would recommend again, making a backset set of horns in case things mess up was the same method was used previously.
Now it is a matter of making them "one" object.
Hold shift, and click both, this will multi-select, both will be highlighted. Press the hotkey Shift+J, this will make them a singular objected.
I would recommend selecting all and hitting "M" and doing a "morph to closest" as a quick clean up. Optional, but if you're using Blender you want to get into the habit of doing this. I would also recommend remeshing.
You can also mesh downward as well as upward, though this can have a profound effect on the quality of your model, which is why I use a third party remesher.
----------------------Finally, and very importantly ----------------------
Two things.. Firstly, check the faces, make sure nothing is red. This quick video will highlight this.
Secondly, and very importantly if you want to texture it, make sure you "UV unwrap". To do this, highlight your entire model (yellow) hit the "U" hotkey, and select "unwrap". Then select "Smart UV project". This basically lays out the map of your textures. If you don't do this, the surface will be a mess, or black.
At this point we are more or less done aside from cleaning up. What comes next is positioning your helmet from above the head using this method. Once the helmet is done, we are now setting up it's placement to attach to a single face so it doesn't warp into oblivion.
https://hub.virtamate.com/resources...d-clothing-imports-without-deformation.12708/
Video 4
Final Thoughts

I've tried to make this as informative but at the same time concise as possible but I may have left some stuff out. If you want more help feel free to DM or post on the forum. If missed some key aspect out highlight it and try to add it in. Attach helmet model separately if want to inspect it.
https://hub.virtamate.com/resources/helm-example.44692/
This is a guide to make a hat/helmet from scratch. The texturing aspect will be left to you. It's recommended you have at least a basic knowledge of Blender. Try to give as much information as possible without making it convoluted. The videos are sped up X4 for the sake of size.
You will need
1. Daz set up with G2 model (see guide)
2. Blender (free)
3. Mopedlampe guide for placement
Recommended - If you get confused by something key in the search for a closer explanation
https://docs.blender.org/manual/en/latest/
The first step is to import over the default G2 base from DAZ. Secondly, I'd recommend you get some reference from Google, no need to exactly copy ref, you can merely use it as a visual guide.
Important - From the onset you want your sculpting mirrored. If you don't do this, you will only be sculpting from one side.
Video 1
First, go into layout mode, select the model, hit tab. > From the top left, select Vert/line/face with shift to select all > Then on the right side, select "xray"
This will make your selection from both the front and back sides. Go to a frontal view of your figure and hit "C".
You're selection tool will now be a selection tool, highlight and drag across the scalp area like the video. This will be the base scalp of your helmet.
Once you have what you want selected, try to make sure it's a clean edge select if possible (not required), then hit Shift+D, this is the shortcut to duplicate. You have copied your selection. It is, however still part of the model, after doing this, while still highlighted, hit "P", and select "separate". You now have the scalp area of the model as a completely separate object.
Now it is separate, select it as the separate object. As the video shows, go to the right side where all the many G2 textures are still applied, and delete them all. Create a new one. It is now both a separate object, with it's own separate material.
Now we have a base form we can begin to start sculpting. Making sure your scalp it highlighted, jump to "sculpt mode". There are many brushes you can use, but for the sake of simplicity I recommend the "grab", as you are merely pulling around the mesh shape. Do not too crazy with it. Make sure to also spam the "smooth tool", if you're edges are rough this will smooth them out as well. You can use F and the middle mouse to change the power and size or the sliders top right.
Once you've shaped the head to whatever you like, optionally, as shown in the video, you can use the Knife tool "K", As the video shows this is like a line cool over the surface that slices out the surface. Once you have "connected lines" hit the return key. Again, hit "C" and highlight the faces within your cut and delete as necessary. In my case it's to create eyes and a nose.
Finally, you can highlight edges using the far left "edge select", highlight when you want and either press "E" to extrude (create a new face) or "G" to merely pull the face as you see fit. I'd recommend you use a fixed axis. (X , Y , Z) shortcut keys.
Video 2
The basic form stuff is now down. It is a matter of refining. Here, and I think it's very important. I would recommend you once again duplicate your cap area (Shift+D) then hit "M" to create a sub-folder, name it whatever and place both in here. With your duplicate cap hit the "H" key to hide. It is a earlier state in case you mess up. I'd also highly recommend saving manually your blender file every 10 min or so.
The main thing happening in the second video is refinement. First though, the scalp was retopologized, i'm using a third party addon, but one is build into Blender. This will make your scalp "higher poly". You can also use other options like multiresolution. Or, if you like, leave it as is. completely up to you.
The image here will show you where to find these, as well as other tools used in the video and ones that will be used such as "mirror" which I'd recommend you regularly apply "mirror" while sculpting in general.
It's very important as well not to overdo it and make it's poly level too high otherwise it will just turn into a mess when you import it to VAM. VAM has a recommended count and it will show you while processing Yellow (not recommended) and RED (no no)
The majority of this video is refinement. This includes using tools like "G" to move the entire scalp area and "R" to tilt it. Alongside "S" scaling to effectively stretch it. You can combine scaling (alongside other shortcuts) with the Axis shortcut keys, it will show line of the axis you are pulling as shown in the video.
Primarily the grab and draw sharp brushes are being used in sculpt mode, but this aspect is preference, you can use whatever tools you like.
Finally, I'd recommend upon selection of your hat/helmet in "layout", right clicking your item and selecting "auto-smooth" otherwise you will get incredibly sharp edges. You can also manually go over the model in sculpt mode with the smooth brush.
Video 3
Next comes the horns. Interestingly with Blender their is typically multiple ways to do something. But, for simplicity sake, we will use the curve tool. This isn't a mesh, but it will become one as shown in the video video via "convert".
So let's break down how create the horns.
In Layout mode Go to Add > Curve > Bezier
Doing this will produce a yellow line, which we will manipulate. Hit tab to go into edit mode while highlighted. It has points we can pull and manipulate, like a spaghetti string. Pull and edge this into whatever shape you like, preferably something horn like.
(Added note- For the filling of the end of the horn I selected the entire edge and hit the hot-key "F", this is "fill", it creates a face over open holes)
Once you're happy with it. Go to the right column area (shown in the video) at "data object properties" (the green icon), in this menu scroll down to "bevel" and and within this area "round", and with the two values "resolution" and "depth" slide with your mouse or add a number. The line now has depth, making it a tube.
Once you are happy, with the curve highlighted (yellow outline), go up to object > convert > mesh
Now it is now longer a curve, but a mesh, like the cap. The horn, separated. Selected it and move it to where you want it's placement on the head and edit as you please, I'd recommend using the "inflate" tool here. Holding shift has a negative effect on all tools e.g. deflate
Once you are happy with it, go to modifiers > mirror and select the scalp area as it's pairing. This will create "2" horns on either side. I would recommend again, making a backset set of horns in case things mess up was the same method was used previously.
Now it is a matter of making them "one" object.
Hold shift, and click both, this will multi-select, both will be highlighted. Press the hotkey Shift+J, this will make them a singular objected.
I would recommend selecting all and hitting "M" and doing a "morph to closest" as a quick clean up. Optional, but if you're using Blender you want to get into the habit of doing this. I would also recommend remeshing.
You can also mesh downward as well as upward, though this can have a profound effect on the quality of your model, which is why I use a third party remesher.
----------------------Finally, and very importantly ----------------------
Two things.. Firstly, check the faces, make sure nothing is red. This quick video will highlight this.
Secondly, and very importantly if you want to texture it, make sure you "UV unwrap". To do this, highlight your entire model (yellow) hit the "U" hotkey, and select "unwrap". Then select "Smart UV project". This basically lays out the map of your textures. If you don't do this, the surface will be a mess, or black.
At this point we are more or less done aside from cleaning up. What comes next is positioning your helmet from above the head using this method. Once the helmet is done, we are now setting up it's placement to attach to a single face so it doesn't warp into oblivion.
https://hub.virtamate.com/resources...d-clothing-imports-without-deformation.12708/
Video 4
Final Thoughts
I've tried to make this as informative but at the same time concise as possible but I may have left some stuff out. If you want more help feel free to DM or post on the forum. If missed some key aspect out highlight it and try to add it in. Attach helmet model separately if want to inspect it.

