


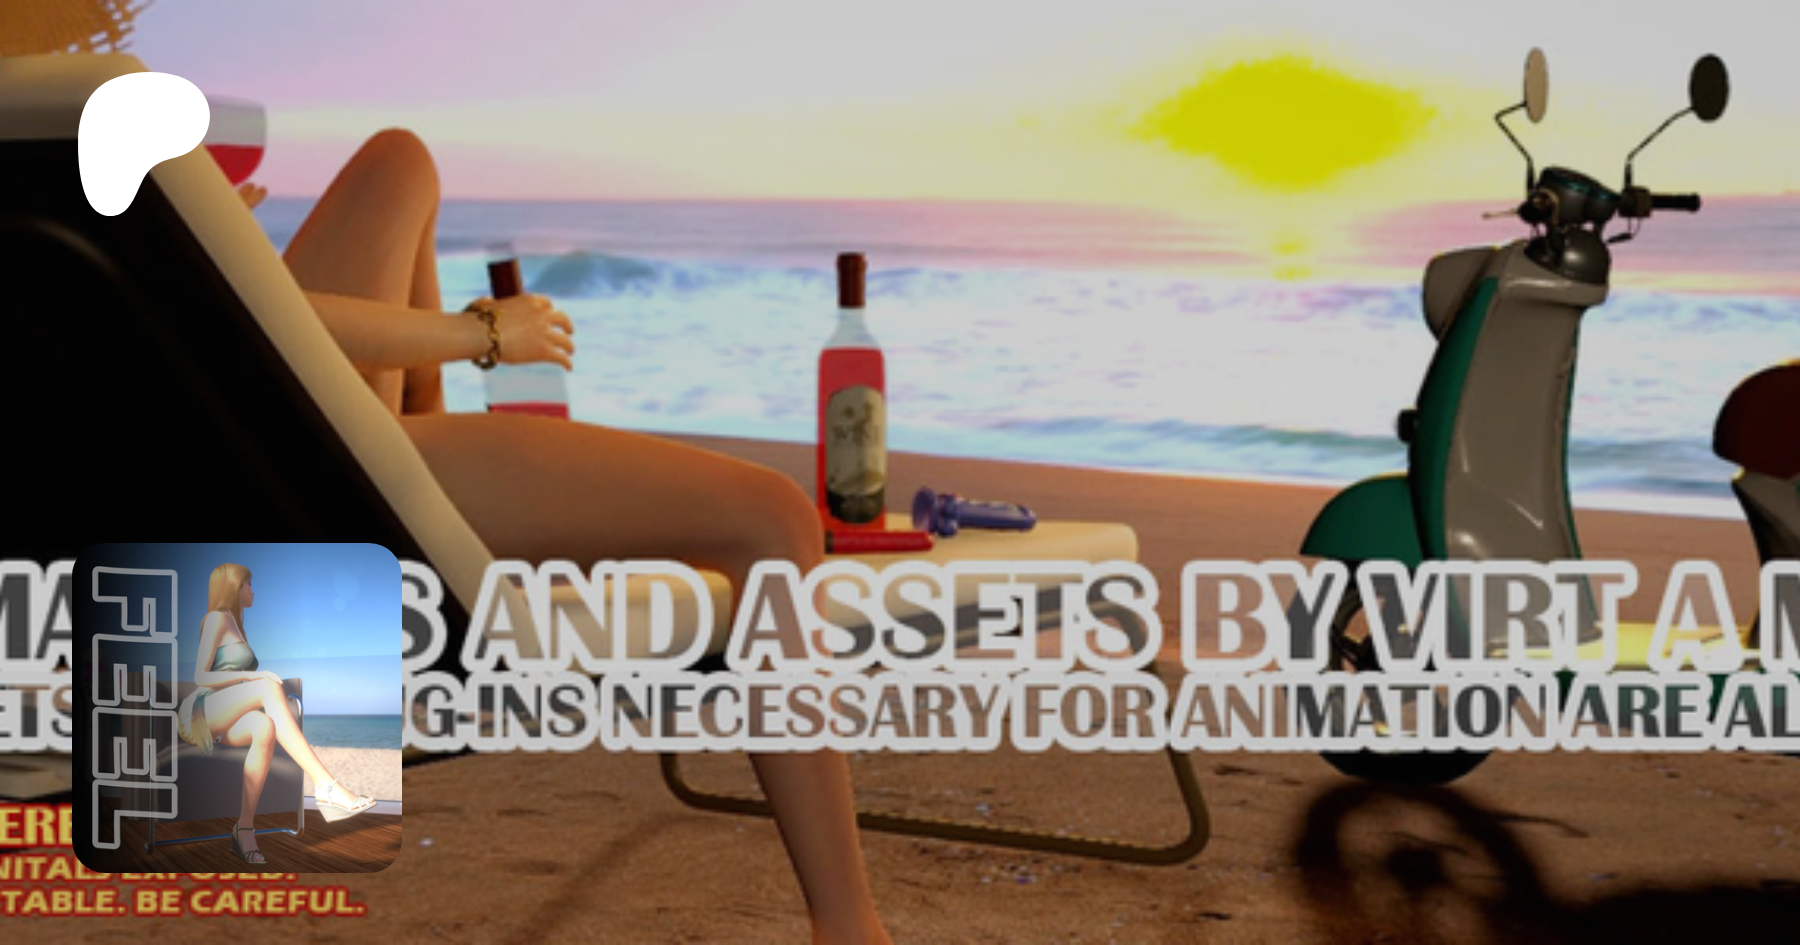
Example of using Liquidglasspack
1. simple usage.
subscene load
select liquid type.
2. Material customization. (menu on the right side of the window)
state setting.

Glass Transparent On Off - Determines whether the material is transparent.
Liquid Physics On Off - Whether to apply liquid physics effects.
Cap On Off - the presence of a lid (No cup type)
Brand On Off - Whether a trademark exists (No cup type)
Brand Change - You can replace the trademark with your own image. (No cup type)
support png and jpg type
color settings.


Glass Alpha - Transparency of the material
Bottle Color - color of material (No cup type)
Bottle Cap Color - lid color (No cup type)
Bottle Bland Color - color of trademark (No cup type)
Cup Color - color of material (No bottle type)
3. Liquid customization. (menu on the left side of the window)

Liquid Height - Adjust the level of the liquid.
(It does not refer to the amount of liquid. This means the absolute height value.)
Liquid Alpha - Adjust the transparency of the liquid.
Foam Height - Adjust the bubble height.
Emission Value - Adjusts the level of the emission effect.
(This requires the "postmagic plugin".)

 hub.virtamate.com

Liquid Ttype - There are types of pre-prepared liquids.
Liquid Color Option - This is a toggle menu that shows the color adjustment function window.
Liquid Color - Adjust liquid color.
Liquid Top Color - Adjust the top color of the liquid.
Foam Color - Adjust the color of the bubbles.
4. Timeline application.
Let's create an artwork using the timeline.
 hub.virtamate.com
Timeline is VaM's powerful directing plugin.
hub.virtamate.com
Timeline is VaM's powerful directing plugin.

In the timeline, you can add the parameters of Liquidglasspack.
By adjusting this value, you can realize your production.

Refer to the following screenshot for adding the argument parameters .
An example of a screenshot exists in the attached scene. please refer to this.
5. Use of trackers.
for drinking animation
I use the Tracker plugin in SubScene.

You can control this plugin from the timeline.
This allows for a natural look.

Attach sample scenes needed for animation.
Your support is continuous and produces many results.
1. simple usage.
subscene load
select liquid type.
2. Material customization. (menu on the right side of the window)
state setting.
Glass Transparent On Off - Determines whether the material is transparent.
Liquid Physics On Off - Whether to apply liquid physics effects.
Cap On Off - the presence of a lid (No cup type)
Brand On Off - Whether a trademark exists (No cup type)
Brand Change - You can replace the trademark with your own image. (No cup type)
support png and jpg type
color settings.
Glass Alpha - Transparency of the material
Bottle Color - color of material (No cup type)
Bottle Cap Color - lid color (No cup type)
Bottle Bland Color - color of trademark (No cup type)
Cup Color - color of material (No bottle type)
3. Liquid customization. (menu on the left side of the window)
Liquid Height - Adjust the level of the liquid.
(It does not refer to the amount of liquid. This means the absolute height value.)
Liquid Alpha - Adjust the transparency of the liquid.
Foam Height - Adjust the bubble height.
Emission Value - Adjusts the level of the emission effect.
(This requires the "postmagic plugin".)
Plugins - PostMagic
Admin Note: This plugin is specifically made for desktop use and as stated in the description only partially works in VR. If you wish to not have this plugin loaded at all you can permanently disable it from within the "Package Manager"...
hub.virtamate.com
Liquid Ttype - There are types of pre-prepared liquids.
Liquid Color Option - This is a toggle menu that shows the color adjustment function window.
Liquid Color - Adjust liquid color.
Liquid Top Color - Adjust the top color of the liquid.
Foam Color - Adjust the color of the bubbles.
4. Timeline application.
Let's create an artwork using the timeline.
Plugins - Timeline
Timeline ? Do you like Timeline? Support me on Patreon and get early access to new features: https://www.patreon.com/posts/39197180 ? Need help creating animations or want to share your works of art? Join us on Discord...
hub.virtamate.com
In the timeline, you can add the parameters of Liquidglasspack.
By adjusting this value, you can realize your production.
Refer to the following screenshot for adding the argument parameters .
An example of a screenshot exists in the attached scene. please refer to this.
5. Use of trackers.
for drinking animation
I use the Tracker plugin in SubScene.
You can control this plugin from the timeline.
This allows for a natural look.
Attach sample scenes needed for animation.
Your support is continuous and produces many results.
