HDRI Sky Studio
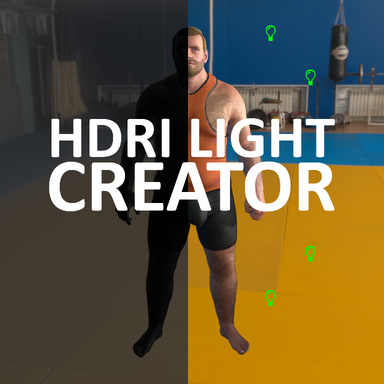
HDRI Sky Studio turns the sky you already chose into the lighting your scene needs. Combining HDRI Light Creator and Skymagic Loader Plus It reads all HDRI or CUA skybox resources released, builds a matching main and fill light rig, and keeps the background, reflections, ambient light and exposure working as one. Rotate the sky, switch CUA scenes or try a new look — the lighting follows instead of fighting you. No more pasted-on characters, mismatched reflections or hand-tuning every lamp. Choose a sky, press
CREATE LIGHTS, and get a scene that feels like one real place.
A light rig that matches your sky environment
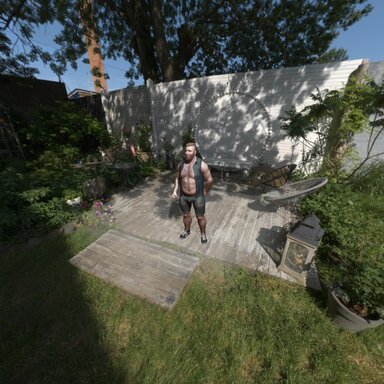
VaM leaves you to match manual lights to the HDRI by eye. The character can look pasted onto the background.
| |
| Manual or default lighting. | CREATE LIGHTS lighting. The character is lit from the bright side of the sky, with matching colour and shadow direction. |
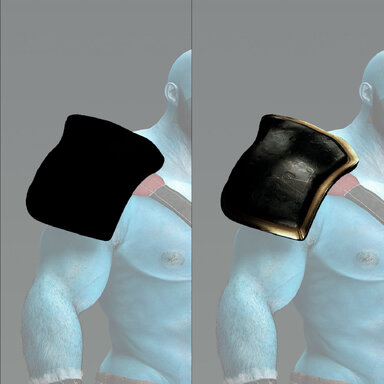
Reflections and ambient light from the same world
Shiny clothing, armour and props often reflect a different environment than the background, which breaks the illusion.
| |
| Flat or generic reflections. | Reflections and ambient light taken from the same sky. The materials pick up the sky’s colour and brightness. |
Change the sky without breaking the look
Rotating the sky or switching CUA scenes usually leaves the lights and reflections behind. Six-face CUA backgrounds also tend to ignore sky look controls.
What it does
HDRI Sky Studio takes the HDRI or CUA skybox you already use and turns it into:
- VaM’s visible sky
- matching reflections and ambient light
- a Key/Fill light rig that matches the sky
Quick Setup
- Sky tab → Sky Setup
Pick the CUA sky object as your Source Atom. (This auto finds if attached to CUA)
- Lights tab → Target & Placement
Pick the Center Target and Target Part. (This auto finds atom's head if present)
- Sky tab → CUA Scenes
Choose the sky scene you want. Wait for Scene ready.
- Background
Make sure Enable Sky and Show Sky are both on.
- Light Search & Amount
Start with Brightness Threshold 0.75.
Pick your Key/Fill counts.
Leave Auto Expose on.
- Sky Setup → CREATE LIGHTS
- Lights → Sky Lighting, Key and Fill
Adjust Scene Rotation, Scene Exposure, Sky Blur and the intensity groups.
-

VaM_NaK9Gzuecp (Custom).jpg
283 KB
· Views: 0
-

VaM_PJ5Ihl1h9q (Custom).jpg
269 KB
· Views: 0
-

VaM_Q7siHvvB0c (Custom).jpg
219.3 KB
· Views: 0
-

VaM_PJ5Ihl1h9q (Custom).jpg
269 KB
· Views: 0
-

VaM_i8wDWgXOxK (Custom).jpg
288.3 KB
· Views: 0
-

VaM_68PbsfSkvw (Custom).jpg
231.9 KB
· Views: 0