Person Material Textures

  • Views Views: 1,942
  • Last updated Last updated:
  • Person Material Textures

    1A5NrFOUSSOofqwkNTUUyZOvF_2zSw_tFIwffi-TsgYxNyMEjg3tMjV067Y8SHj5C7PxiqrsE0zZZXZNgMzDG1QgcA8NQiayusEyAqfevgNTVOK1u0KuYB3krfAV-yXEkCWzSxTH


    Y1ZKlwHg1PYZL1Jz7vh28FCIQm-82lveRH9eNSyhNVLSPADsDbH7IAjP7167hK0xqnsYs_H4yES9IwxQx6dLw6UjdHU7VKrUokKb7YUT8ABSyYm4h05175wc04atCoeRC8ekX44B
    “Name Space” This will display the name of the currently selected Atom. You can rename it here as well.

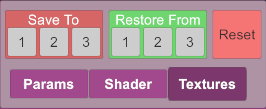
    Material Tab Global Options
    8trBMNuQ9UEfCjdMPD5ecIciEYJpcDGtcxSshePw18MUBZp1RxlYwiPq-ELs_4wNjMCpnhpBnVL65jeNlO55oTzmsltX5pFfEMGKjiiF9Jw1B_gP6paWbBOd3IxYJBRKLWVEhtER

    YHufL6LCJgSDgVb11xGFSjXf2gOfZ__zE2EhMvz7k1khE0WzHIrEVlxf70XFblKBU8VyqirdvuGljkDQPnxbitfLOPgxHvDlZ9i5OlUm6lsTabAPHdI0iwGgay5hobFIsVUfd-we
    ”Save To” gives you three “quick save” slots to save your current material settings to easily transfer them to another atom. This saves settings from all three material panels: Params, Shader and Textures. They will stay in memory during scene changes or a hard reset however be lost when VaM is closed.
    -OLds506GQv4eBNGDZPyfO6728fG_dYplMhiOWwpyftOQlzrFojS4SKrUtK3b1qRK0yeKpUERfjSx5KMeovkk_qUOTUDfB2SdbcvRKN_wVugsBXAa6aBXhuoSizLo5FFJ7EVY4vi
    ”Restore From” This is where you will restore the material settings from the channel you saved them to in the “Save To” box. For example if you saved to channel “1” in the “Save To” panel, You will restore the settings by clicking on the “1” in this panel.
    JR5hKXl61kjanysADsktUW2huK4ar-J9VjWa_NSf7x-NiB9RTC58sRVgvUNO8BFMVLXawLcOaIKvHfSnw-qlUHMy9rM4r3fiktrJT3vPznjk7ORlZZqUx3dKmeJzIruiBMdCZGVW
    ”Reset” resets all material settings across all three panels: “Params”, “Shader” and “Textures”.

    These three buttons are how you change to one of the three material option sub panels in the Atom Material Tab.
    yqm_M9WdZcl_TZkYuTwiF4lokKjJzC0J9Q-f3vmkzsJPWLmMdqOWSv_OQmNIK57_MrTL9FZbe2f6jzMk5gqCYheO3RfaA_gaUBTdP0U7Iwik0m0KAKSrP4ixwQt8-HvomeVObAiK
    ”Params” Displays the Material Parameter options.
    oNo3G9z33Szz506myaM4memTNfbVEGxIBx7k0BdJPHKgBhsMXDlXj8GCgf5AwwrSGxly7QWxv3_xQsiJS0N9s5bxm1jieMwRp_6orrA2H6498SEZIulSaC7nfSUkg95sUJgmJVSV
    ”Shader” Displays the “Shader” options.
    V_TL83fI_9GH4-stfMj7EBnuENAY33eC-Zsxx_PTdewno9CQSdhh1gPyMh2n8ZCHrt7stLzVUQHMQyT-Pp1Hp6I53d_BPtcLBlmj_zOqjAujckDQm9hyED3585BNpppysKPOwtwN
    ”Textures” Displays the “Texture” options. The current page you are reading.


    fxXnBfQGlO0PYiWD1g9LGseEYxX1P4MPCZnqF25vy7D6UTEo8r5LClEdcTIMunIPYZk3f4z8bHFu1oV9csw-jGhC4RYsTQaELn3ZZCOB8H6scXBpAACpRw9TyBOmGpRircIiM36F
    ”Open Folder In Window Explorer” will open an explorer window to the selected atom’s texture folder.

    sBVSTsEu4zrR75HPDgPG8DWR9Mx3BV37-Aq4pb80y4hDXEpQ_t8i2BQBlOxgXKZY4yO6l48cVQoFAwlXuLLWefTBN_3xS4yWT-3VsVo-v6DM-DE4NCh7hxK-JiOYR0yO9e1L3z6e
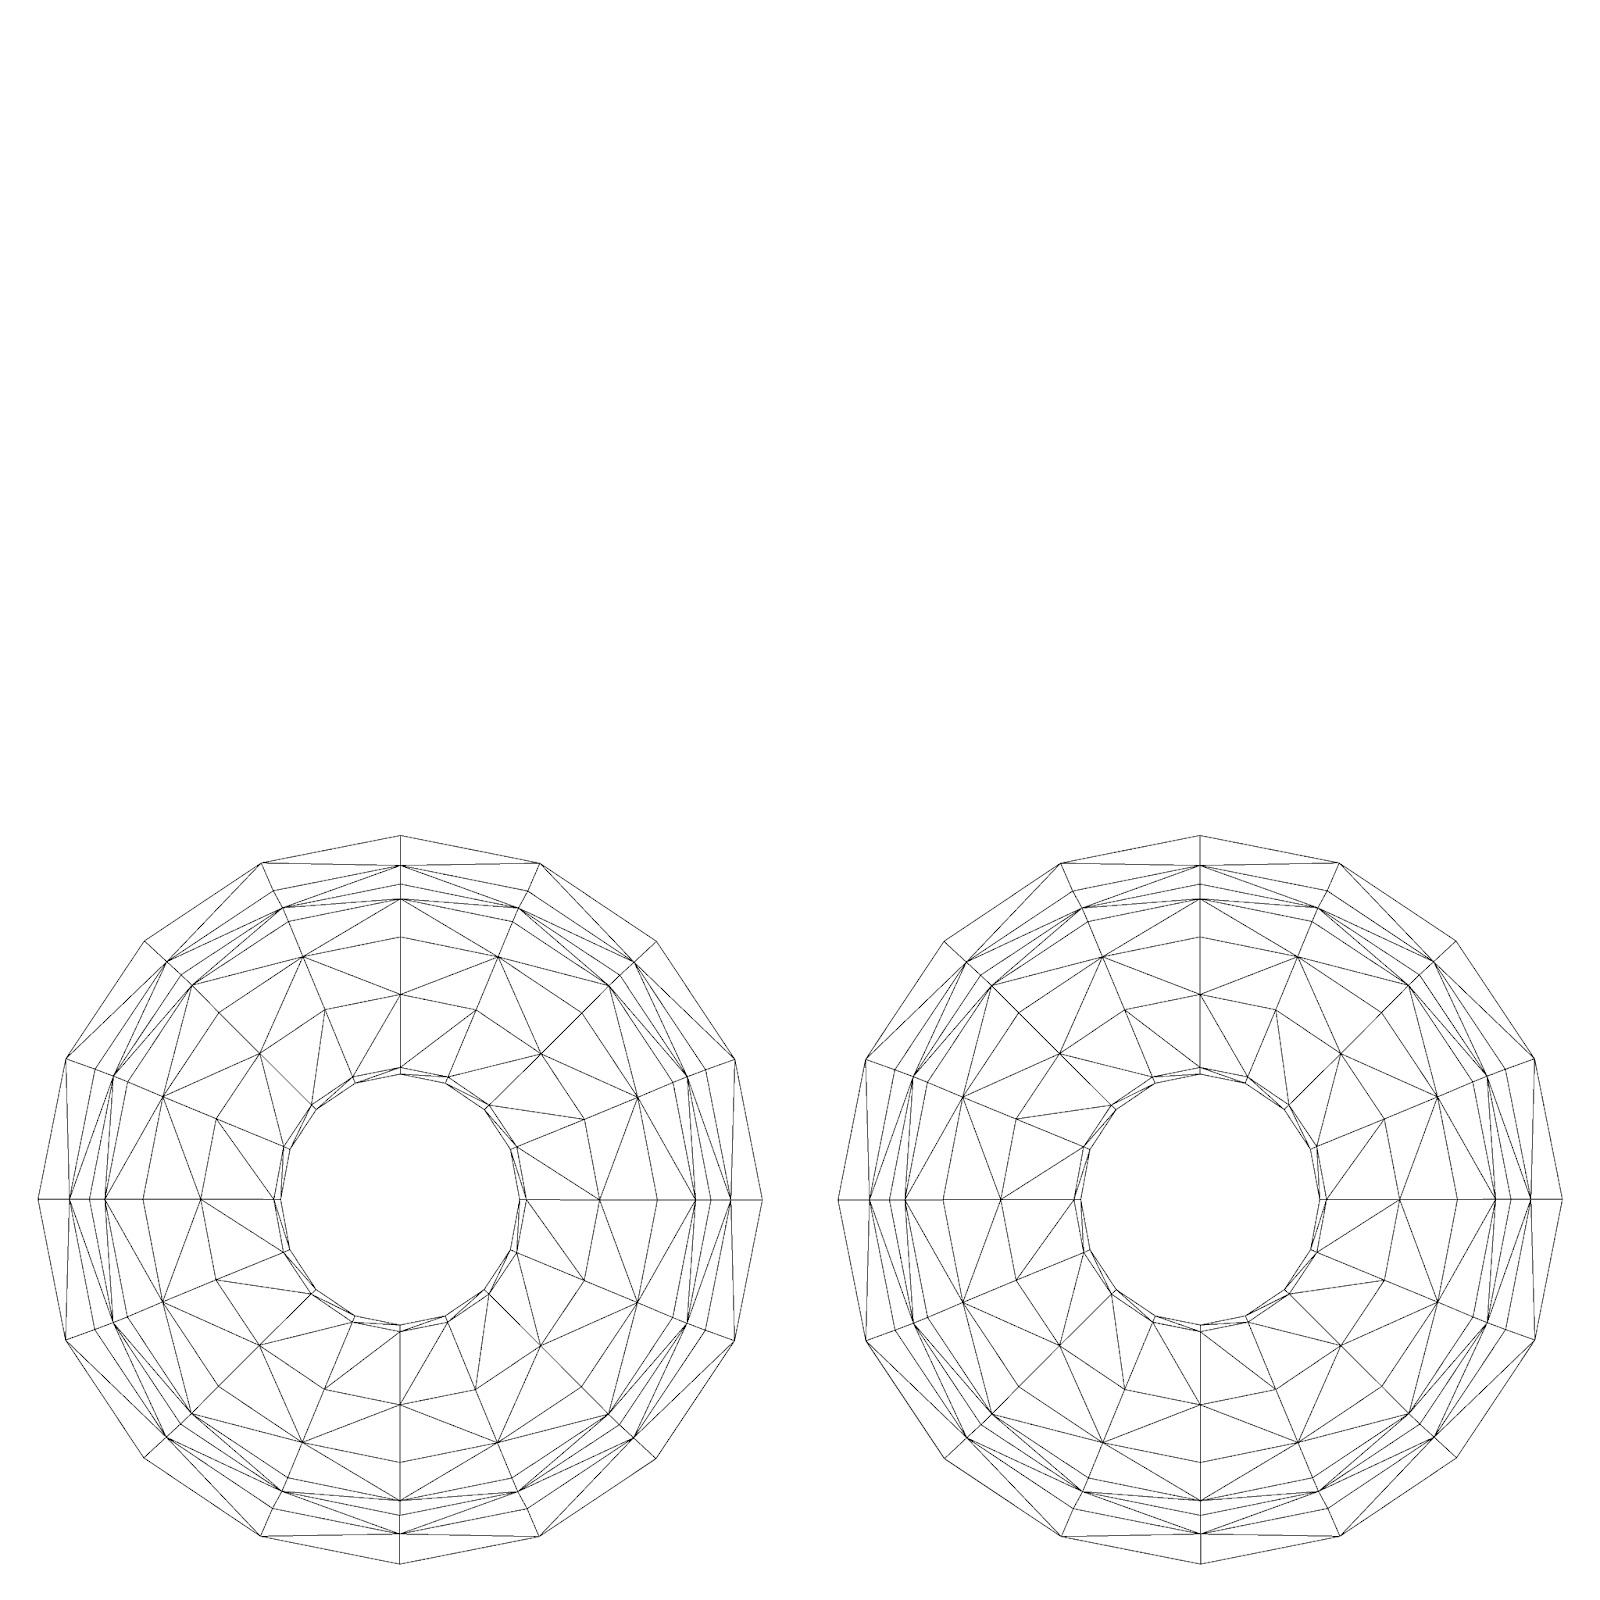
    ”Create UV Template Texture” exports a “materialsUVTemplate.png” file of the selected atom’s wireframe layout to make it easier to create custom textures for use in game. To quickly access the selected atom’s texture folder use the above button ”Open Folder In Window Explorer”.

    DMjsukQytoIkNJlW79n-RmWHop1exYIIRP3-6UfJOczToXdglHAVdWSd0jyEDz6wHkeec1bITmDJ0Aj7HQCuUs5ea-D6fJFxNTIsT8KzEVHUE2ccp0uikJofgPt5a_pABn8hfEqp
    Person Atom Iris wireframe template.

    The following Texture Options are not all available on every Material available on the Person Atom. They are dependent on the Unity shader used for that specific Material option.

    The majority of texture channels available are the following:

    6VrWCjRJd8YgAeU1N7rMmeWm2qE1Qf_k84KL1CT0T486hR49hEX3pkVbc4zuUxrfiUNF1I2EOl4zMadjBLKXoRh68ie-4zNICuDt2t4if3GQjXXvAE_wpj6DoBXysddmsRJCvN07
    ”_MainTex” Main Texture / Diffuse channel.

    pLoUF7i0503duwBNY02fddXLy4zCYfejMvbQXDP0-tAvFZebIYtgJbfV3l2LGumFZmw9wLhAAkH0S-bHwFmkS3v8SkbrXD41Cg2dem-R0Vuk2hQqyjdBSQBfrbkwZgFwG_GBWXh2
    ”_SpecTex” Specular Texture channel.

    XmNtle-MR-8CFNrNx51Gz_92_6fcxdp6hYU9SpClITeGAkpivYoF1AER6qlZWCWuph2kbNAWyGJdop5QLwJKXZ6HaCoI9qXShaQHplarH7qbqQ6qlt3ffS1ZszlkVjUduYJOR2Pi
    ”_GlossTex” Gloss Texture channel.

    if67nAWGlfS9KGfG7wOyp7mz2zOgQtvPvBGJL3hjqPS1Fw28Je77omLunZDdpJ-ToqCj7HWDMTI4F4R44_P9q4KO6kFJ76KUSgilYjzC4wONLPgAupPbc4YjE_f4xIAW4WUXAhpP
    ”_AlphaTex” Alpha Texture Channel / Transparency

    OninZsHYfHglBEX-SNmQoZYCxL08dNzOoKkTqqP8WDYk_qjuGSDCSJqnWyIMcYmc9DjBGGB7fgyP3Tr2Lb-iBySos_Ead-RwSbGdsTWOJHtsGxmqHI_HWPb8zJzMwDCIERHJBrG7
    ”_BumpMap” Bump Map / Normal texture channel.

    RSZhZyBd1DET09hNZUWnwTzrHaxSOtsL5nsUCSZKGuhd9lEbXiFhlVTcgZ0obnoFGv9ERl2MZqa5xARzCRTcA_0dlmGAe4oX4K2RI-iiLUSQF6hmHQ-au8HNJ7AcRq8fL7ArHMYI
    ”_DecalTex” Decal Texture channel.

    Each of the above texture channels have the following options available.

    _sgmMJeYSLmrUET3of8f5rmY125qah4yHCQZ822SWmBeKO_GiPH2sytJSdoyIi7xO7463KgxjCwmZSEu6lm7aK9V2hed5eaBtd4IvLcYYQ99MJLKG1HtxZlhrT1hVCNcDlQyVKZq
    ”Default” Resets the texture back to it’s default texture. This goes for not only built in assets but also custom built community assets.
    V-SStVx8nuqTVn3JVJJUtXxNUaOokTqPfhJEipBuwl3cPt63FXL08ey29yQjOZJneoKixOVLBGfLSdAk_kSNaj46oF7f_CQjV58SAysicS1joKbtIMSZA58juSFM4sYfYebeItwj
    ”Reload” Reloads the currently assigned texture, this is helpful when iterating on a custom texture.
    GxKizwyol0_wGvJObDuEDOgW8G09QKwhkpbBMZNwBkrnWfw3U_zIoCAUCwj_G8TNis1V4Ld9n2YelBT8uuuQo6VCxz4ltjgRP3AC5ANgKVqadQu1WyuAiH7qMFr_yXI8qhK2wTb1
    ”Null” Removes any currently assigned texture also clearing the default texture so that the current channel does not have any texture assigned to it.
    fm3KqSyM0vl9L7xIjLhLCacGID4MkfFQGKv-hdEQ1nyJgF3mh6SHo2VtMpzO1GjRH_FyUKi1bS6-NzbU3UZRiWcNT18VRHLCngWTBTARuDCMc0LmXG9lGx4HEdJ7Zt1Kt4Zqkf1B
    ”Clear” Clears the currently assigned texture. Reseting it to it’s default.
    5O4bEY1RaC9F6D0OI2vhE8groxmaLN7f2886Krym8NPNxsd_s3slDp6-Meh_JrQGv_n1syhqkMmBtPxn_tUsDUpSIE9bMj3T7v5VsHxagHr0dY_hTssPAWsH_WBYrEc_YbA_6zRW
    ”Select” Opens a select file dialog in the current atoms texture folder. So that you can load any textures you have saved there.

    2UXQri0VuNBT_jWqp2AXSmUzR1FuvSpiD0poOZP-ovTpa3UgzerNR4RPDohudsH6GpwappdVD-3u_9cY-r7SmKrYR9dWLXGm1ujEr_7dgR_e2AY9TB8h2UjVl3j7j6Ya2UnJEd3A
    ”Tile X” Tiles the assigned texture along the X axis of the selected Atom’s material UV’s. Default is “1”
    3Kj5z1TCE__nkos-7iAjJolbFAthZZYhKUwu81zW5QHLtVHUob6B6Aw0jqg9EkQLCkSxgak-FJre0SXZ3HofpWBv2_cRGHP1moISF7HwUe3Zung2-9AJqX55FnV5ttWZI8-R0b-K
    ”Tile Y” Tiles the assigned texture along the Y axis of the selected Atom’s material UV’s. Default is “1”

    AkGluSPI6y2mVq6EmvushV_ZiFVLNuK1KGfYt8m510QbkiQcruuJ-SxMz1r-UAO1QzCXDy4SjnUSo4oTqin-B9_xSg0Z2rgltcZNQ_mCaXjxrJ2TCKPx6iXLSh7oVjBAKhB0dysL
    ”Offset X” Offsets the assigned texture along the X axis of the selected Atom’s material UV’s. Default is “0”
    oMT0B9VRpHcEYtx0b3KUO6Wd15gfgpYHMSebgMsJuOZffJAJqMAdjXguH127MDcKt2wMVp5rSWbsPaEvLA7HeS89KuIWlWXv3jW7e0gKJDUGTenZxdCY9M2750O87PYKCywLJp0i
    ”Offset Y” Offsets the assigned texture along the Y axis of the selected Atom’s material UV’s. Default is “0”
Back
Top Bottom