Installing Unity and the AssetBundle Browser from scratch:
The version of Unity that is compatible with VaM assetbundles is version 2018.1.9f1. You can download this version from
here.
Save the exe into a local folder and then install Unity into a convenient location. If you don’t already have it installed you can also install the Unity Hub which is available
here.
After installation, run the Unity Hub and click “Locate” and point it to the install location of 2018.1.9f1. It should now show up in your list of installs.
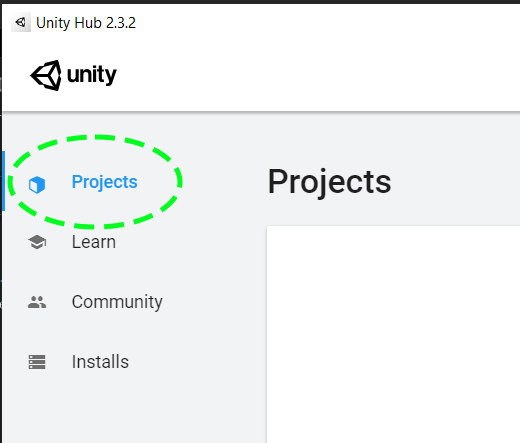
Go to the Projects Tab.
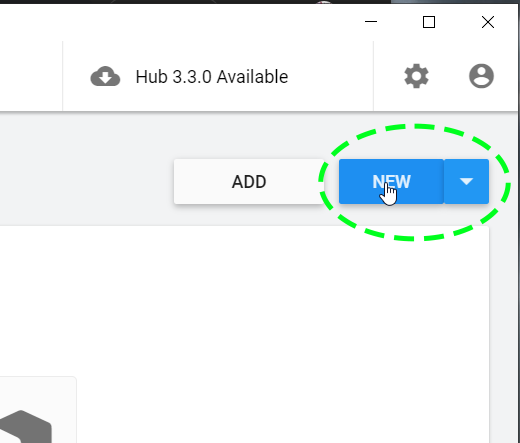
Click on New.
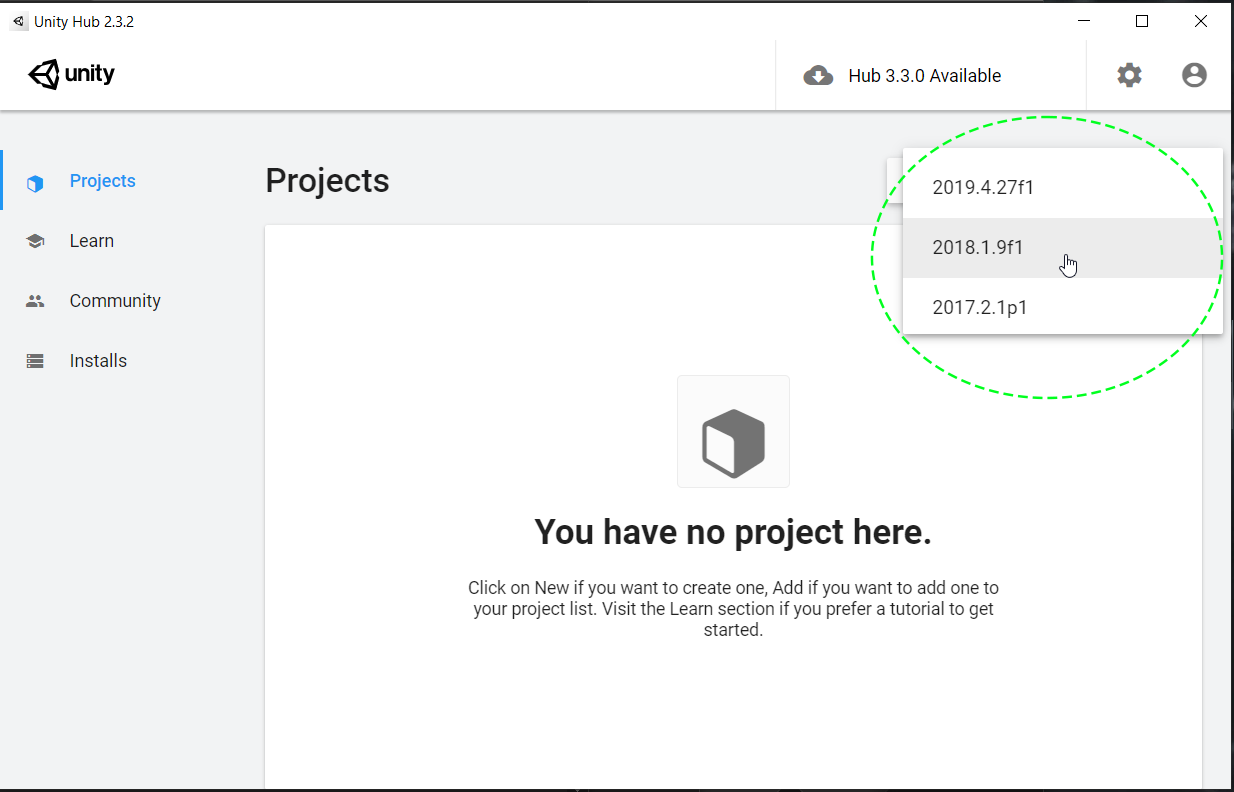
Select version 2018.1.9f1 of Unity
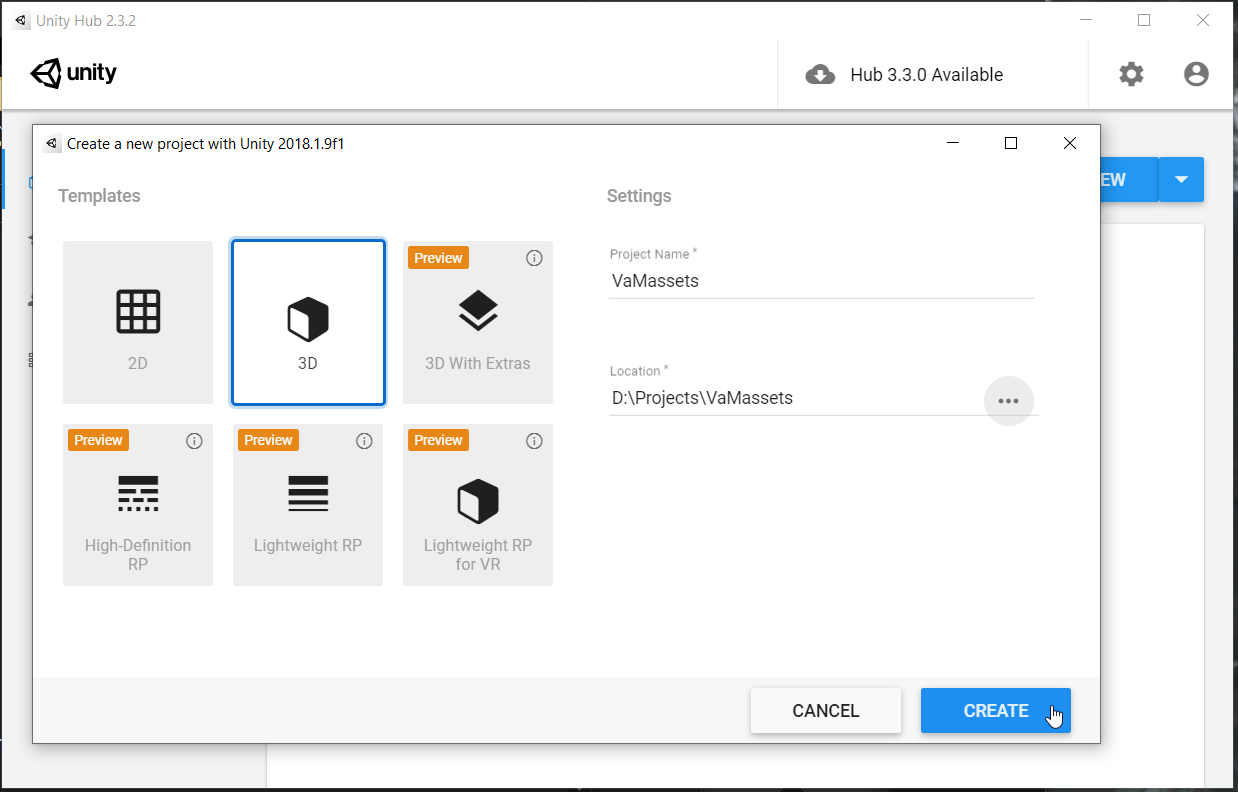
A new Dialog box will appear. Select 3D Template, Enter a Project Name, and a Location for your project to live.
Installing Asset Bundle Browser.
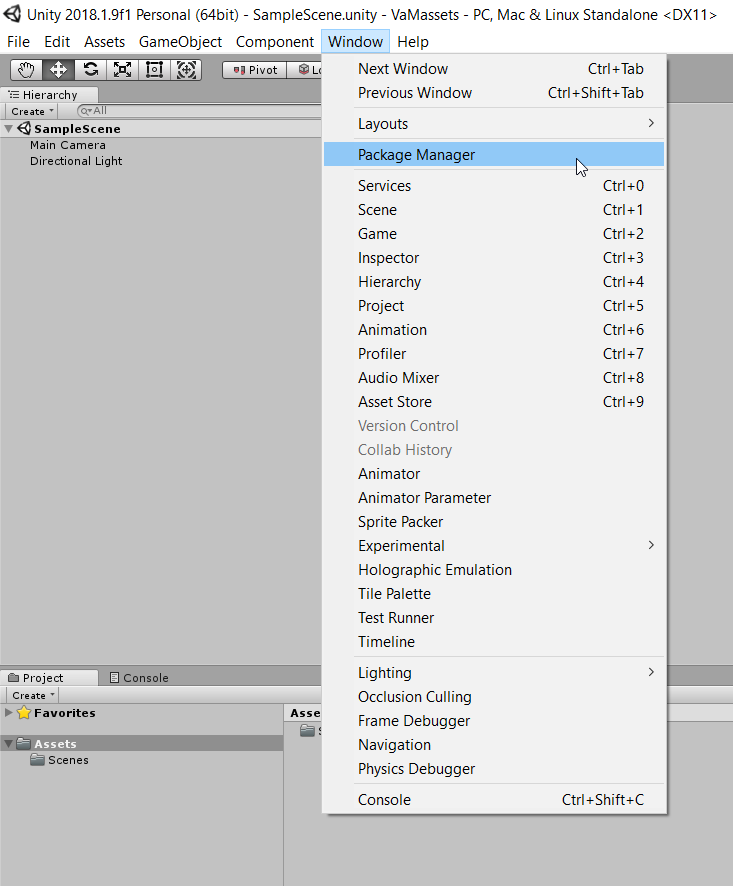
Unity will now open with default UI settings. Next you will need to install the Asset Bundle Browser which is available for free. Go to Window / Package Manager.
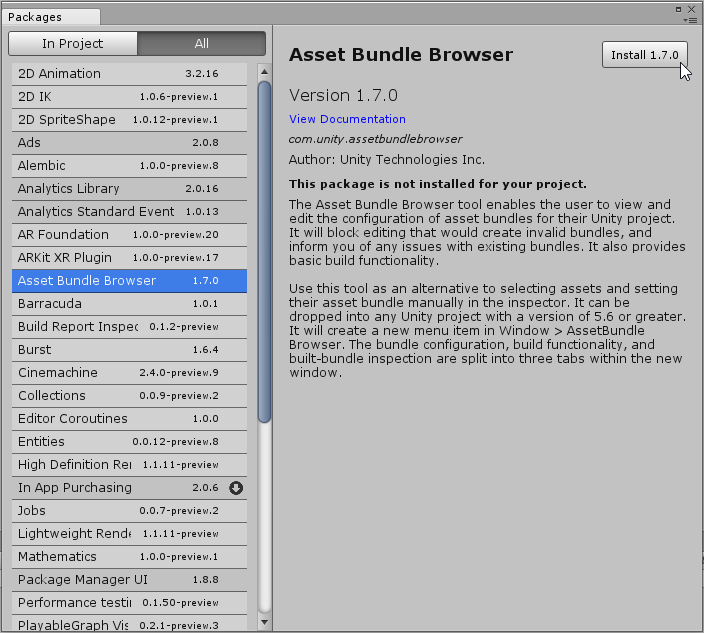
The Package Manager window will open. Select Asset Bundle Browser and click on Install.
Add AssetBundles window to your Unity UI. Window->AssetBundle Browser. Drag it somewhere you prefer.
Unity Settings
- Set project Color Space to Linear to get proper lighting. This is found in Edit->Project Settings->Player. Then click Other Settings tab. Set Color Space->Linear (default is Gamma)
- Turn on VR support and set to single pass. This is found in Edit->Project Settings->Player. Then click XR Settings tab. Click Virtual Reality Support checkbox. The set Stereo Rendering Method->Single Pass.Install